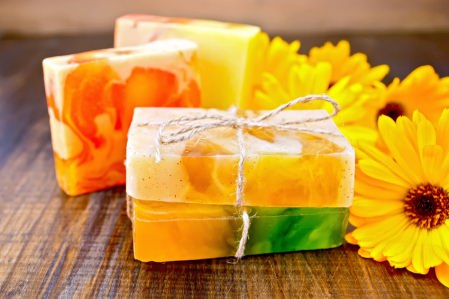
MELT & POUR SOAP MAKING
Melt&Pour soap making is a great way to create your own soaps, chemically controlled and totally personalized.
It is simple, cleansing, and ready to customize.
Find our Sulfates-free Melt&Pour Soap Base here.
With this article, we will give you a general insight on the steps to take to create your soaps !
1/ Melting the soap base.
The first step is to have your soap base melted. Cut the quantity of soap base you need in 2cm cubes and place them in a bowl.
You can use a double-boiler, or a microwave at low power (in this case, melt it by increments of 15 seconds and stir between each time to distribute the heat better and avoid burning the base).
Our Sulfates Free Melt&Pour Base melts at about 60 degrees.
Use heat-safe tools and handle with care – melted soap can hurt if dripped or splashed on skin.
2/ Soap customization : Cosmetics Actives and Colors.
Keep the melted base in the double-boiler.
Once the base has melted, you can now add your choices of coloring agents (micas, oxides), exfoliating powders, butters and/or carrier oils. Keep stirring gently while pouring your ingredients.
3/ Soap customization : Fragrances and Essential oils
Remove the melted base from the double-boiler.
This part comes second and out of the double-boiler because the heat is a sensitive element for fragrances and essential oils, and might alter them. Add your choices of fragrances or essential oils and stir well. (2ml for a 100g soap bar)
Now, if it started to solidify, place it for a bit back to the double-boiler as the next step is to pour it into a mold.
4/ Pouring into the mold.
Silicone molds are ideal for soap making. You can find them here.
Gently pour the mixture into your mold, and leave it to rest for a few hours until totally solidified before unmolding.
If there are bubbles on the soap mixture after pouring, spray a bit of rubbing alcohol on the surface.
You are now done with making your own melt and pour soaps, enjoy !